In an earlier adventure, we created a statically generated Next.js blog using Next.js 14, Tailwind Typography and MDX. If you want more information, you may view that post here.
This time, we are exploring the option to host our static blog site on Github Pages. Github Pages allows free users to host their static websites if the repository is public which is a great option for our endeavour. There are some usage limitations for github-pages that you might want to read here before we continue.
Github Repo
If you want to visit the final product and explore the code yourself or just clone the project and make your own blog; visit the github repo here.
You may also visit the blog site deployed to github-pages in its final form here.
First steps
Weather you are using the mdx-blog project or your own next.js project; there are a few things we need to make sure before continuing.
Make sure next is configured to export static site. Go to your project root and open your next.config.js or next.config.mjs
const nextConfig = {
    pageExtensions: ["js", "jsx", "mdx", "ts", "tsx"],
    //Other configurations
	...
	output: "export", // This option must be set for static exports.
};
Verify build
We should run next build command to verify that nothing fails and we get our static site at /out folder. When we run a build, next will show the route structure in a tree. All routes must be static since we are pre building each possible route.
Here is what it should look like after a build in the terminal
> next-mdx-static-blog@0.1.0 build
> next build

   ▲ Next.js 14.0.4

 ✓ Creating an optimized production build
 ✓ Compiled successfully
 ✓ Linting and checking validity of types
 ✓ Collecting page data
 ✓ Generating static pages (8/8)
 ✓ Finalizing page optimization

Route (app)                              Size     First Load JS
┌ ○ /                                    178 B          88.9 kB
├ ○ /_not-found                          869 B          82.8 kB
├ ○ /blog                                178 B          88.9 kB
└ ● /blog/[blogId]                       292 B            89 kB
    ├ /blog/first_blog
    └ /blog/second_blog
+ First Load JS shared by all            81.9 kB
  ├ chunks/938-cd2116519108597b.js       26.8 kB
  ├ chunks/fd9d1056-735d320b4b8745cb.js  53.3 kB
  ├ chunks/main-app-6826a28d43c854be.js  219 B
  └ chunks/webpack-71ab42c6f89d781b.js   1.65 kB


○  (Static)  prerendered as static content
●  (SSG)     prerendered as static HTML (uses getStaticProps)
After we make sure our build doesn't fail, all routes are static and our next config is set to output: "export", we may continue.
Configuring the Github Repo
Now that our project is ready for publishing, we commit our changes and upload it to our github repo. Lets now make sure in the repository settings that the visibility is set to public if your account is also a free tier.
- Go to settings tab in your github repo and click on pages from the side menu
- Select Github Actions
- We may now choose a deployment template. A next.js template is suggested already so we choose it or we can just click browse and find the next.js template ourselves.
- click customize and view the yaml file that'll deploy our project.
Now you may click on commit changes and try your luck but it didn't work for me because at the time I was writing this blog, the suggested workflow was configured for an older next.js version.
If the build fails
We can go to our code editor now and fetch the new workflow to our project from the github repo.
.github/workflows/nextjs.yml file appears in my project. Lets fix this now
This part is the first culprit. It's writing over our own next.config. We need to remove this step.
---
- name: Setup Pages
  uses: actions/configure-pages@v4
  with:
      # Automatically inject basePath in your Next.js configuration file and disable
      # server side image optimization (https://nextjs.org/docs/api-reference/next/image#unoptimized).
      #
      # You may remove this line if you want to manage the configuration yourself.
      static_site_generator: next
The second culprit is this part that belongs to an older version. We only use the next build command now. So this part must be removed:
---
- name: Static HTML export with Next.js
  run: ${{ steps.detect-package-manager.outputs.runner }} next export
Final workflow
Here is what my final workflow looks like. Lets save it and see if the build works.
# Sample workflow for building and deploying a Next.js site to GitHub Pages
#
# To get started with Next.js see: https://nextjs.org/docs/getting-started
#
name: Deploy Next.js site to Pages

on:
    # Runs on pushes targeting the default branch
    push:
        branches: ["master"]

    # Allows you to run this workflow manually from the Actions tab
    workflow_dispatch:

# Sets permissions of the GITHUB_TOKEN to allow deployment to GitHub Pages
permissions:
    contents: read
    pages: write
    id-token: write

# Allow only one concurrent deployment, skipping runs queued between the run in-progress and latest queued.
# However, do NOT cancel in-progress runs as we want to allow these production deployments to complete.
concurrency:
    group: "pages"
    cancel-in-progress: false

jobs:
    # Build job
    build:
        runs-on: ubuntu-latest
        steps:
            - name: Checkout
              uses: actions/checkout@v4
            - name: Detect package manager
              id: detect-package-manager
              run: |
                  if [ -f "${{ github.workspace }}/yarn.lock" ]; then
                    echo "manager=yarn" >> $GITHUB_OUTPUT
                    echo "command=install" >> $GITHUB_OUTPUT
                    echo "runner=yarn" >> $GITHUB_OUTPUT
                    exit 0
                  elif [ -f "${{ github.workspace }}/package.json" ]; then
                    echo "manager=npm" >> $GITHUB_OUTPUT
                    echo "command=ci" >> $GITHUB_OUTPUT
                    echo "runner=npx --no-install" >> $GITHUB_OUTPUT
                    exit 0
                  else
                    echo "Unable to determine package manager"
                    exit 1
                  fi
            - name: Setup Node
              uses: actions/setup-node@v4
              with:
                  node-version: "20"
                  cache: ${{ steps.detect-package-manager.outputs.manager }}

            - name: Restore cache
              uses: actions/cache@v3
              with:
                  path: |
                      .next/cache
                  # Generate a new cache whenever packages or source files change.
                  key: ${{ runner.os }}-nextjs-${{ hashFiles('**/package-lock.json', '**/yarn.lock') }}-${{ hashFiles('**.[jt]s', '**.[jt]sx') }}
                  # If source files changed but packages didn't, rebuild from a prior cache.
                  restore-keys: |
                      ${{ runner.os }}-nextjs-${{ hashFiles('**/package-lock.json', '**/yarn.lock') }}-
            - name: Install dependencies
              run: ${{ steps.detect-package-manager.outputs.manager }} ${{ steps.detect-package-manager.outputs.command }}
            - name: Build with Next.js
              run: ${{ steps.detect-package-manager.outputs.runner }} next build

            - name: Upload artifact
              uses: actions/upload-pages-artifact@v3
              with:
                  path: ./out

    # Deployment job
    deploy:
        environment:
            name: github-pages
            url: ${{ steps.deployment.outputs.page_url }}
        runs-on: ubuntu-latest
        needs: build
        steps:
            - name: Deploy to GitHub Pages
              id: deployment
              uses: actions/deploy-pages@v4
Perfect it worked and we can go to https://<username>.github.io/<repository-name>/ to view the blog.
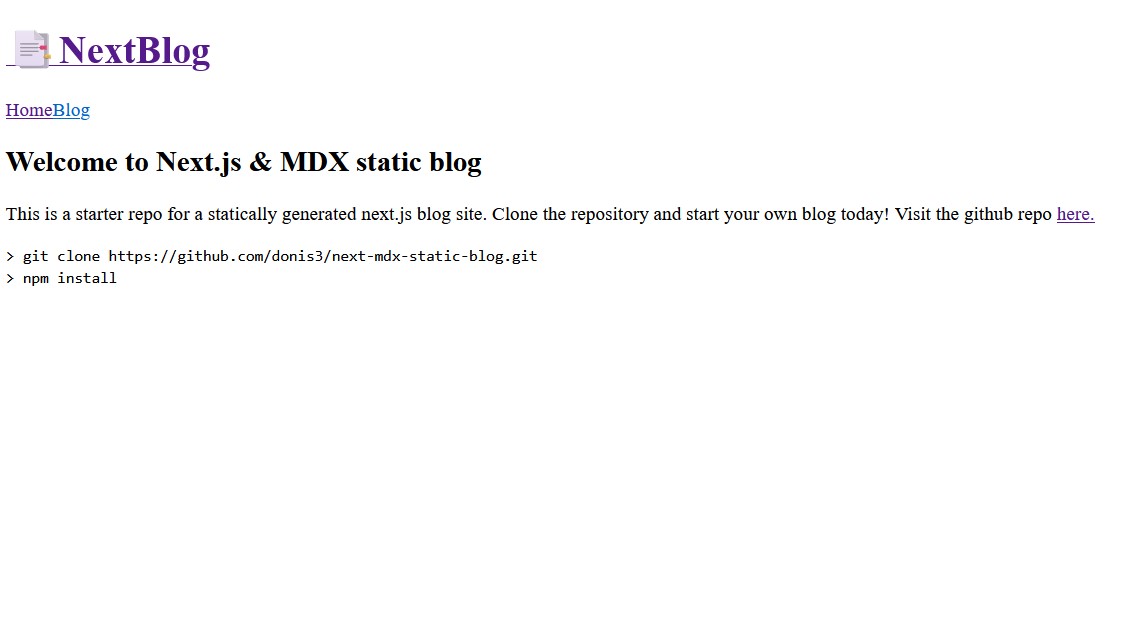
But we have a problem. Because we removed the basePath step from the workflow, all url's in our application are broken including links to css files. We can only see the raw text as you can see below.

Fixing our basePath
If you are hosting your app at the root level of a url like yourblog.com/ there wont be any issues. You can connect a custom domain to your github pages and it'll work. But if you want to be able to host your blog using your github url like https://<username>.github.io/<repository-name>/ we must tell our application that the basePath is /<repository-name>. This will fix all the relative url's.
/** @type {import('next').NextConfig} */
const nextConfig = {
	// Configure `pageExtensions`` to include MDX files
	pageExtensions: ["js", "jsx", "mdx", "ts", "tsx"],
	// Optionally, add any other Next.js config below
	output: "export", // Will export all routes as static html
	basePath: "/next-mdx-static-blog", // <-- replace with your repo name.
};
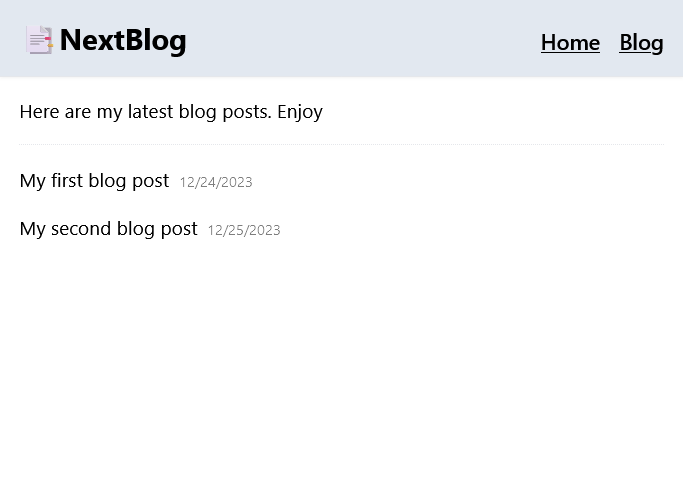
Et voila! all relative url's are now working

How it all works
Thanks to github workflows, we've just implemented our continuous integration and continuous deployment (CI/CD) pipeline.
When we make a change like add a new mdx file blog post and commit our repo to github, github actions will start the workflow process.
It'll create a virtual machine, install all our dependencies, run the next build command and deploy the /out folder to github-pages.
Once we've set this up, everything is automated and we get all this for free. Thanks GitHub!
